If you’re managing a lot of repositories in an organization, you’ve probably run into this problem: finding what you need gets harder as the number of repos grows. You might have infrastructure-as-code repos mixed with documentation, testing projects alongside applications, and proof-of-concept work scattered everywhere.
The fact that organizations are not really built to structure repositories does not help with the problem, but something that does help is Custom Properties!
GitHub’s custom properties feature lets you add structured metadata to repositories (as the docs so nicely put it). It’s a relatively new feature that makes organizing and searching repositories much easier.
I recently implemented a “project-type” custom property across our organization, and it’s been a game-changer for how we structure and find repositories.
Single select makes sense because a repository typically has one primary purpose. You might have a repo that contains both code and documentation, but it’s usually one or the other that’s the main focus.
Default value of “undefined” helps identify repositories that haven’t been categorized yet. It’s better than leaving them empty because you can search for props.project-type:undefined to find repos that need attention.
Required on all repositories ensures consistency. When someone creates a new repository, they have to pick a project type right away. This prevents the accumulation of uncategorized repos.
Custom properties are a simple feature, but they solve a real problem. If you’re managing multiple repositories and finding it hard to keep track of them, give custom properties a try. Start with one property that addresses your biggest organizational challenge, and expand from there.
The project-type property has made our repository management much more efficient, and I’m sure there are other custom properties we’ll add as we identify more organizational needs.
Draft Pull Requests are a GitHub feature that allows you to create a pull request that’s explicitly marked as “not ready for review.” They’re perfect for when you want to:
Want to validate your approach before investing too much time:
# Create a draft PR with just the basic structuregh pr create --draft --title "Proposed API structure" --body "Looking for feedback on this approach before implementing the full feature"
# Create draft PR for collaborative workgh pr create --draft --title "Database schema redesign" --body "Collaborating with @teammate on this. Please add your changes to this branch."
Draft PRs are about collaboration. They’re a tool to make your development process more transparent and collaborative. It’s also much more fun to work together, and I feel that it makes the culture of only shipping “perfect code” less of a thing.
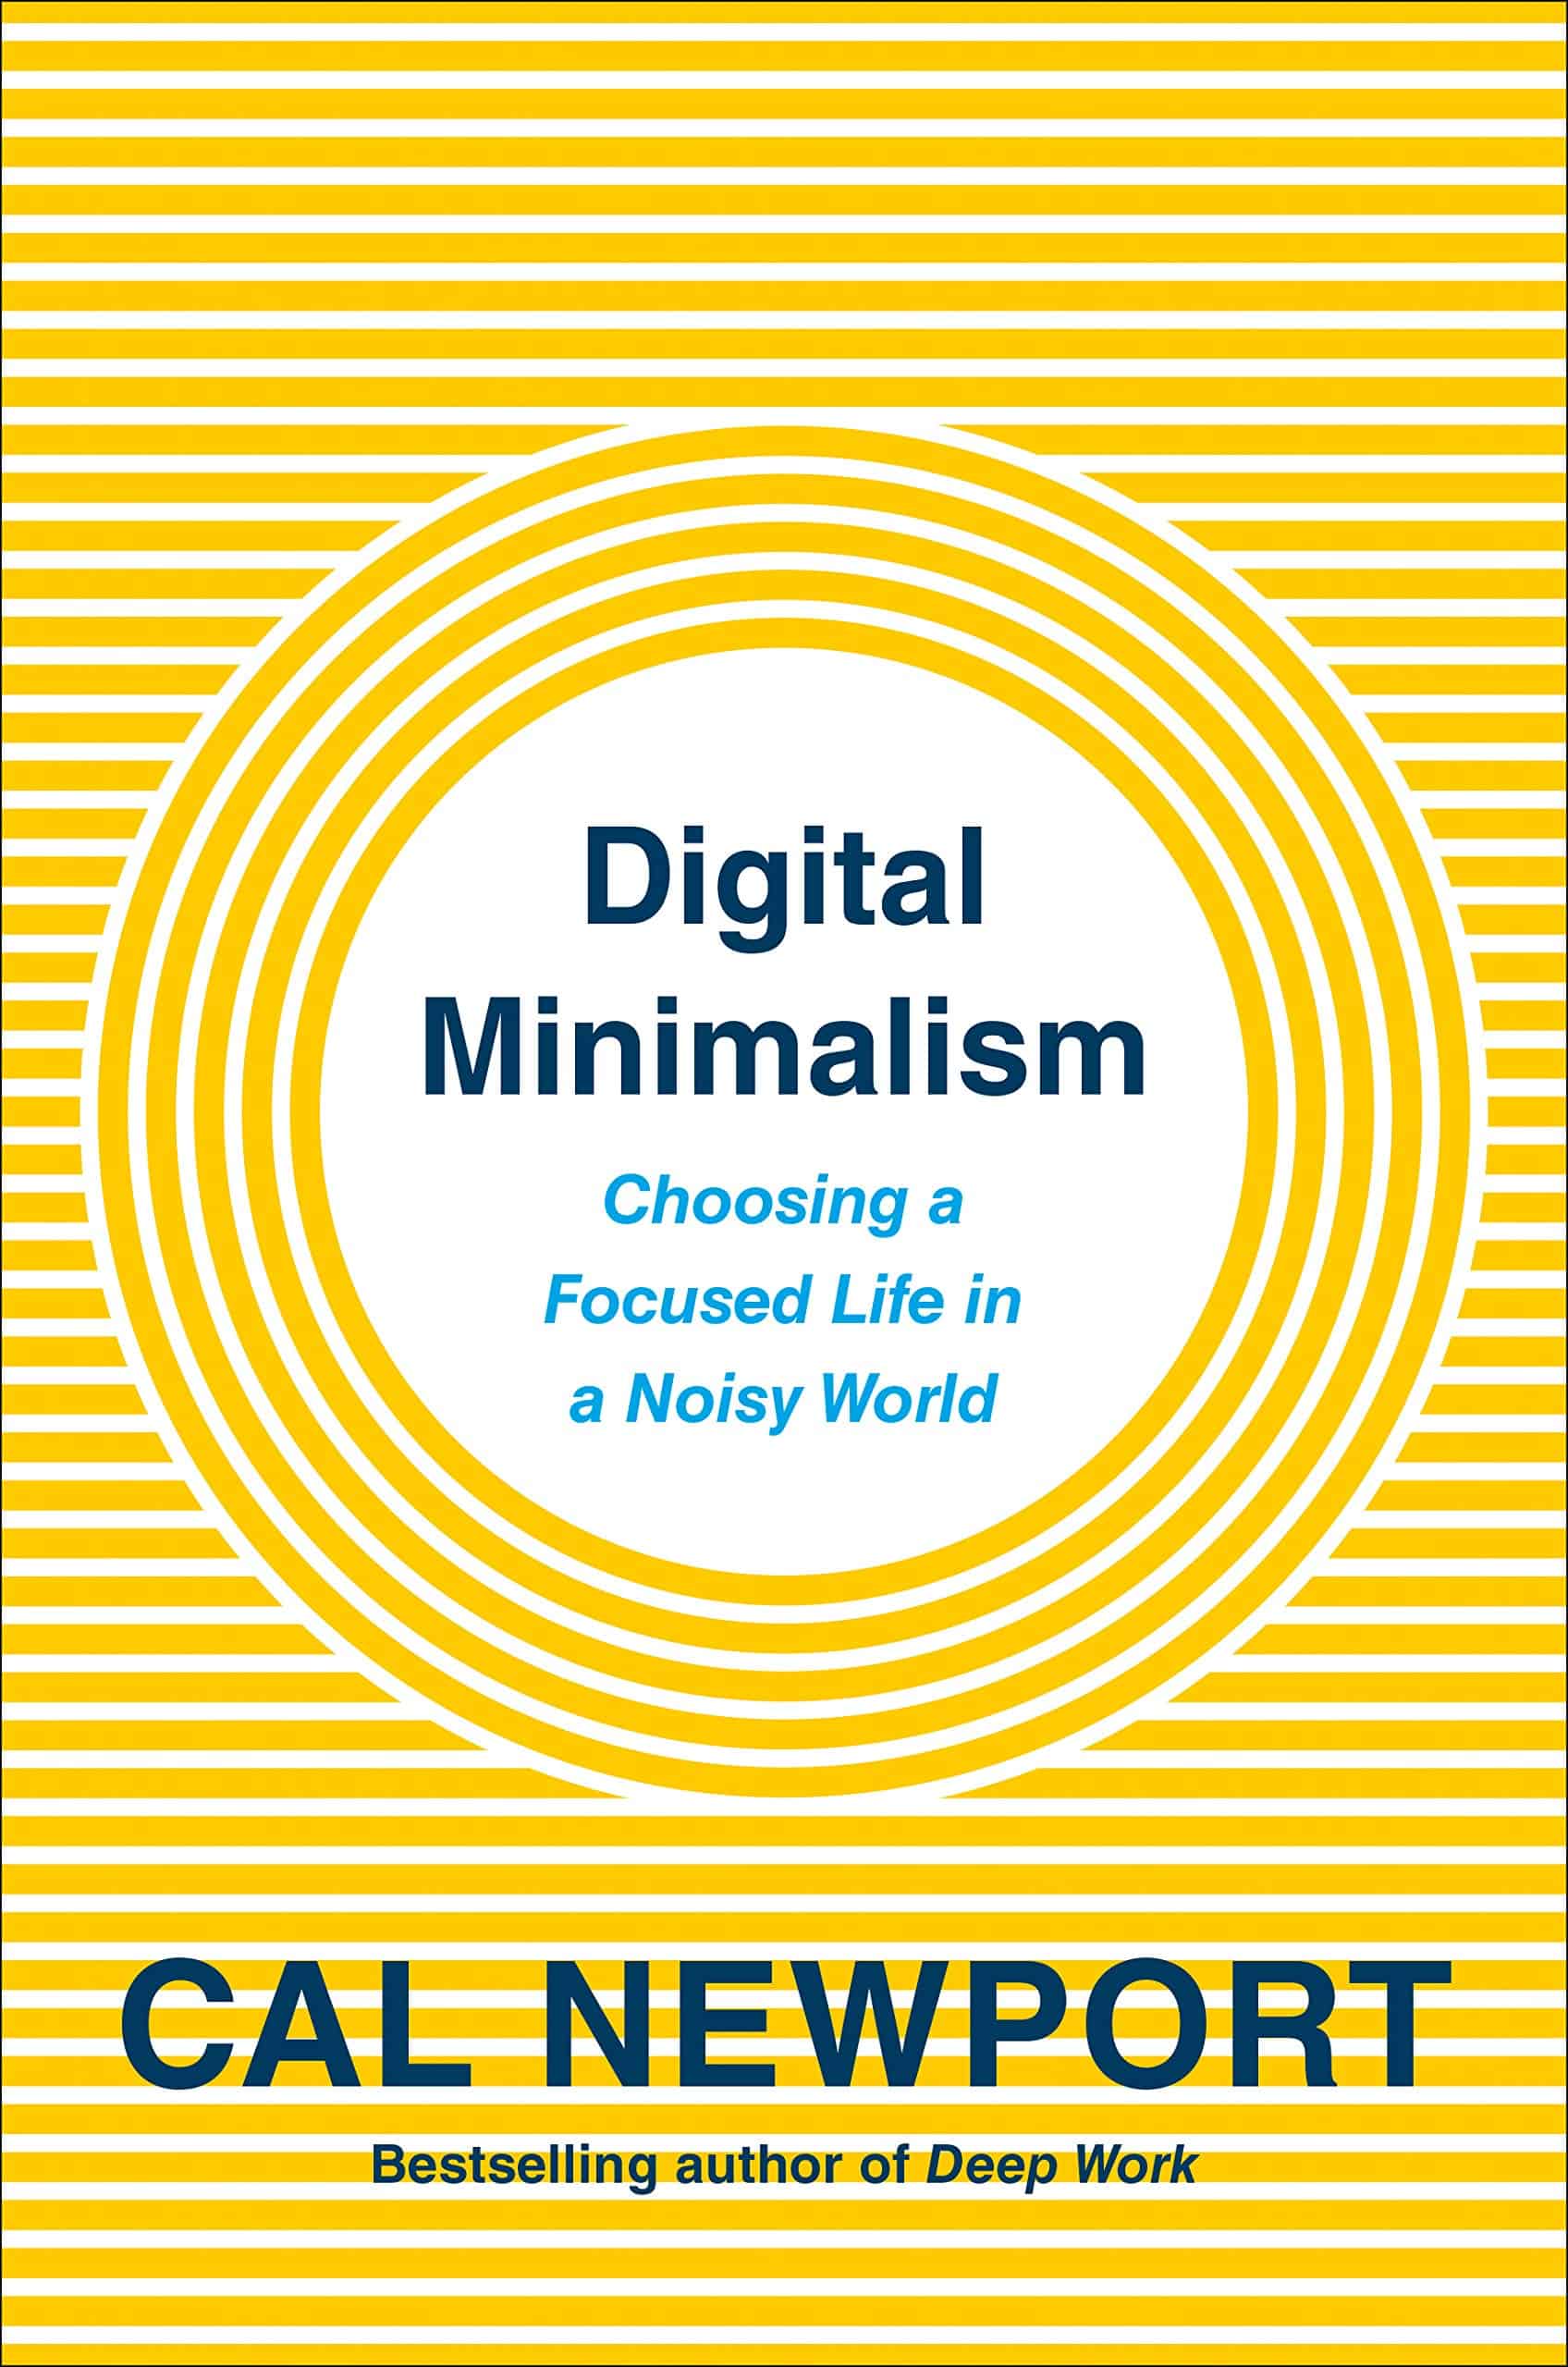
This post is not a review of the book, but a summary of my takeaways that helped me improve my productivity.
While I’ve focused specifically on developer productivity insights, I actually learned a ton about my own behavior and how to improve my focus and presence outside of work (topics not covered in this post).
I included some quotes from the book that I felt was relevant. I highly recommend reading the book!
Be intentional about your tools, and find out how to optimize them.
Don’t use unnecessary tools. Have scheduled time slots on migrating away from unnecessary platforms, apps and tools.
Document your tools, what problem they solve and if there’s a better way of solving the particular problem.
Here’s my template for documenting which tools I use:
## Tool/App: ______________________
1. 🧭 Does this support something I **deeply value**?
- ☐ Yes
- ☐ No
2. 🥇 Is this the **best way** to support that value?
- ☐ Yes
- ☐ No
- ☐ Unsure
3. 🪫 Do I use this **intentionally**, or **compulsively/by default**?
- ☐ Intentional
- ☐ Compulsive
- ☐ Both
4. 🧠 What would my life feel like **without it for 30 days**?
- _______________________
5. 🛠 If I removed it, what would I **replace it with**?
- _______________________
6. 🧱 Could I keep this app but add **friction** or **limits**?
- ☐ Yes → How? _______________________- ☐ No → Then consider removing.
→ Decision:
- ☐ Keep as-is
- ☐ Keep but limit
- ☐ Remove temporarily
Listing all your digital tools and having one note for each service/application is a lot of work. However it makes you intentional about your choice.
Digital minimalists believe that deciding a particular technology supports something they value is only the first step. To truly extract its full potential benefit, it’s necessary to think carefully about how they’ll use the technology.
Schedule a time slot for a specific activity. Be intentional about time in front of your computer.
Be relentless about focusing on this activity within the time slot. No distractions.
Take silent walks alone. A silent walk is just a regular walk, without any silicon or lithium.
Time slots will make you productive. Silent walks will spawn ideas and boosts creativity, while giving your mind a break from inbound traffic.
Digital Minimalism: A philosophy of technology use in which you focus your online time on a small number of carefully selected and optimized activities that strongly support things you value, and then happily miss out on everything else.
Keep your phone in DND (Do not Disturb). Allow your emergency contacts through and if you have any mandatory apps.
Read your email once a day. Email makes you context switch.
Avoid context switching if possible. Use DND, busy light, inform colleagues and friends if your time slot.
If using social media, don’t use the mobile app. Use a browser and be intentional about what to do on social media. Use a time slot.
I’m not a huge fan of this quote because I feel it simplifies the complexity of social media, but it has some truth to it for sure:
The tycoons of social media have to stop pretending that they’re friendly nerd gods building a better world and admit they’re just tobacco farmers in T-shirts selling an addictive product to children. Because, let’s face it, checking your “likes” is the new smoking.
Make your phone boring. Be intentional about the unlock/quick check behavior. Have time slots for answering or checking your phone.
Less is more. When getting new hardware or software, be intentional about it’s meaning. Will it replace something? Does it align with my values and work style?
Many tools and gadgets may make your life a tiny bit more convenient. Is it worth it, or is the purchase driven by emotions?
Planning activities does not rob it of spontaneity and relaxation. The planning takes a very short time, and during the activity itself, spontaneous and creative moments will likely occur.
Having “Nothing to do” is likely not relaxing. Without intentional use of technology, there’s a large risk that the nothingness will be filled with low-quality activities.
The sugar high of convenience is fleeting and the sting of missing out dulls rapidly, but the meaningful glow that comes from taking charge of what claims your time and attention is something that persists.
Digital minimalists recognize that cluttering their time and attention with too many devices, apps, and services creates an overall negative cost that can swamp the small benefits that each individual item provides in isolation
Many System Administrators and DevOps engineers start with this simple approach.
Being the sole user of version control they feeli satisfied with just having their code versioned.
The problem arises the day another team member joins or (what’s more likely) you join a larger team. This is important because larger teams require more structure and coordination to work effectively with version control, and will most likely require this from you before you get to work.
When it comes to GitHub; you could argue that the Pull Request is GitHub’s greatest feature (maybe GitHub actions are the second greatest feature hehe).
Let’s look at a simple workflow that utilizes this feature.
It’s designed to promote collaboration and has features that promotes DevOps:
This is crucial - you need to make sure your local copy, your fork, and the original repository are all on the same page.
Always make sure your fork is up to date before starting new work. You’ll minimize merge conflicts this way. This should be something you think about every time you open your IDE.
git checkout main
git pull origin main # Get changes from your forkgit pull upstream main # Get changes from original repo
The idea being a small daily exercise to help you get used to the workflow and build memory through repetition.
In this case, the workflow I’ve described above can be used as a daily practice:
Create a new branch
Make a small change
Create a PR
Get it reviewed and merged, or removed by yourself if it’s not needed and is only for learning purposes etc
Clean up
This is a safe, simple and powerful way to get used to the workflow and build memory through repetition, which is one of my favorite ways to learn something new!
GitHub CLI is a command line tool that allows you to interact with GitHub from the terminal.
Learning and using the mentioned workflow, the GitHub CLI and utilizing auto-merge can automate this. It wont be as simple as pusing directly to main, but it’ll be a good compromise and sooner or later you’ll have to learn it.
I’m using sway on arch (btw) and naturally I need a terminal GUI app launcher. I was quite surprised how well it works, prerequirements are fzf and flatpak:
flatpak run (flatpak list --app--columns=application |fzf)> /dev/null 2>&1&
As mentioned, I version control my custom shell functions.
You can version control your ~/.config/fish/functions folder (for fish) or your ~/.bashrc (for bash) using Git and GitHub, it’s possible with bash and zsh too, but you have to set it up yourself if you want the same workflow that is.
When I use bash I usually version control my ~/.bashrc as a github gist, but I’m not a fan of it, because it’s not as modular as self-contained functions in a repo.
That said, a gist is great because you can use the github CLI to edit or create a gist from the terminal!
# create a gistgh gist create --source=. --remote=origin --push
# list gistsgh gist list
# edit a gistgh gist edit <gist-id> --add ~/.config/fish/functions/mycoolfunc.fish
User submit requests through ServiceNow for account access
The Catalog Item (ServiceNow request form) is not that great and tricky to use
Approvals may take days
Once approved, the DevOps pipeline is triggered, but because of hardship with creating sensible API calls between an ITSM system and a DevOps tool, it’s harder to sanitize the data, making the run more error prone
The user is presented with 200 lines of different logs after days of waiting
ITSM tools and DevOps tools solve different problems. ServiceNow is good at managing access and compliance workflows. GitHub is industry leading at technical collaboration and automation.
This approach uses both tools for what they do well. The API integration keeps ServiceNow updated while letting technical teams work efficiently.
Have fun, now you only have about 25,000 lines of code to write!
The GitHub CLI (gh) makes working with forks and clones even easier:
# Fork and clone in one commandgh repo fork user/repo --clone=true# Just fork (no clone)gh repo fork user/repo
# Clone your existing forkgh repo clone YOUR-USERNAME/repo
# Create PR from your forkgh pr create --base main --head YOUR-USERNAME:feature-branch
Pro tip: gh repo fork automatically sets up the upstream remote for you, saving the manual git remote add upstream step.
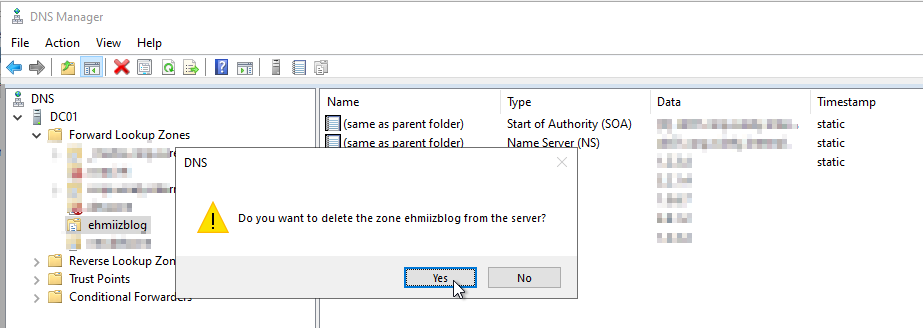
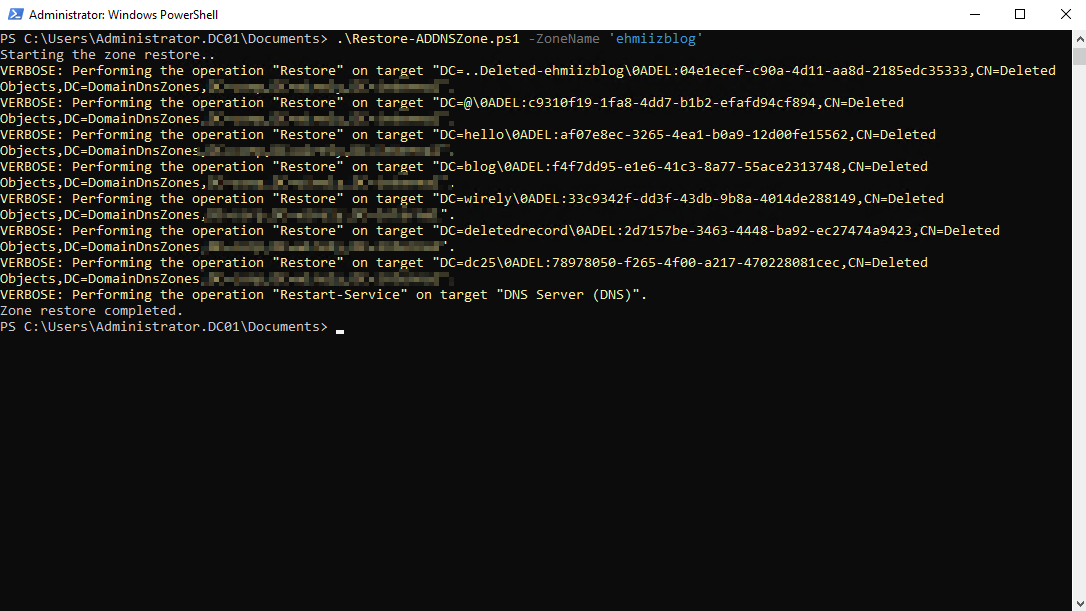
I wrote a simple script to demonstrate how a DNS zone restore can be achived using the Restore-ADObject cmdlet:
Importing Required Modules: Loads ActiveDirectory and DnsServer modules.
Setting Parameters: Allows specifying a DNS zone name, defaulting to “ehmiizblog”.
Searching for Deleted Zone: Looks for the deleted DNS zone in known AD locations.
Retrieving Deleted Records: Fetches resource records for the deleted zone.
Restoring Zone & Records: Restores the DNS zone and its records to their original names.
Restarting DNS Service: Restarts the DNS service to apply changes.
Output Messages: Provides feedback on the restoration progress and completion.
This file contains hidden or bidirectional Unicode text that may be interpreted or compiled differently than what appears below. To review, open the file in an editor that reveals hidden Unicode characters.
Learn more about bidirectional Unicode characters
Disclaimer: Please note that while these steps have been provided to assist you, I cannot guarantee that they will work flawlessly in every scenario. Always proceed with caution and make sure to back up your data before making any significant changes to your system.
Written on 2024-05-08 (Note: Information may become outdated soon, and this was just my approach)
If you’re a proud owner of the 2024 Asus Rog Zephyrus G16 (GU605MI) and running Fedora 40+, ensuring smooth functionality of essential features like sound, keyboard, screen brightness, and asusctl might require a bit (hehe) of tweaking.
Here’s a comprehensive guide, or really the steps I took, to get everything up and running.
The screens brightness works out of the box while on the dGPU.
However that comes with certain drawbacks, like flickering electron applications and increase in power consumption. The steps below gets the screen brightness controls to work in “Hybrid” and “Integrated” mode (while the display is being ran by the iGPU).
Open the grub configuration file:
sudo nano /etc/default/grub
Add the following string at the end of the line GRUB_CMD_LINE_LINUX=:
With these steps, I was able get a somewhat functional GU605MI Fedora system. If you encounter any issues, refer to the respective documentation or seek further assistance from the Asus-Linux community.